



 English
 Español
 عربى
Content
- 1 Diagnose the Fault Before You Buy Anything
- 2 Match the Fix to the Fault
- 3 Free a Stuck Slider and Get It Back on Track
- 4 The Half-Millimetre Pliers Rule for a Spreading Slider
- 5 Replace the Slider Without Replacing the Zipper
- 6 When Repair Stops Making Sense
- 7 Buying and Prevention Checks That Save Zippers
- 8 Frequently Asked Questions
A backpack zipper that will not close is usually not a broken zipper at all. In the samples we check before a production run, the teeth are intact and the tape is still stitched flat - the slider has simply lost its grip, which is a fifteen-minute fix with a pair of smooth pliers or a two-dollar replacement part.
Spend five minutes identifying the fault before you buy anything. The repair for a stuck slider is the opposite of the repair for a spreading slider - one needs lubrication, the other needs the jaws closed - and applying the wrong one turns a cheap fix into a restitched panel.
Diagnose the Fault Before You Buy Anything
Watch where the teeth separate, because the position of the gap tells you which component actually failed.
Open the pocket, hold the bag against a window and run the slider slowly along the track. If the teeth part behind the slider, the jaws are spread. If the slider stalls at one point, there is grit, a bent tooth or a stitch caught in the channel. If the slider slides with no resistance at all, it has jumped the track or its bridge has cracked.
Coil zippers, the spiral plastic teeth stitched to the tape, tolerate wear well and can usually be re-crimped once before the slider is finished. Molded-tooth and metal zippers need exact alignment: one bent tooth stalls the slider on every pass, and a metal slider with a flattened spring cannot be repaired, only replaced.
Match the Fix to the Fault
Match the repair to the symptom first, because four of the six common faults are solved at the slider and only two need a sewing machine.
| Fault | What you see | Repair | Tool |
| Stuck slider | Stalls at one point, teeth intact | Brush out debris, then wax the teeth | Toothbrush, paraffin |
| Spreading slider | Teeth part behind the slider | Close each jaw by half a millimetre | Smooth needle-nose pliers |
| Slider off the track | Slides freely, nothing engages | Re-thread from the joined end, sew a new stop | Pliers, needle and thread |
| Broken pull tab | Slider moves but cannot be gripped | Swap the pull or fit a new slider | Side cutters, size 5 slider |
| Missing teeth at the end | Gap of one or two teeth at the top stop | Shorten the zip and stitch a new stop | Sewing machine |
| Tape torn from the seam | Fabric or thread failure along the panel | Re-stitch the tape or replace the panel | Machine, matching thread |
Only the last two rows involve stitching. Everything above them can be handled at a kitchen table, which is why a proper diagnosis matters more than a repair shop visit in most cases.
Free a Stuck Slider and Get It Back on Track
Free a stuck slider by cleaning the channel first and lubricating second, because wax pushed into a channel full of grit grinds the teeth instead of protecting them.
- Empty the pocket and lay the zip flat. A zip under tension will not release, no matter how much wax you apply.
- Brush along both sides of the teeth with a dry toothbrush, then pick out thread, sand and lint with a pin.
- Lubricate the teeth, not the fabric. Paraffin wax, a dry bar of soap or a silicone stick all work, and graphite from a pencil is fine on metal teeth. Skip cooking oil and general-purpose spray lubricants, which collect dust and stain the tape.
- Work the slider one centimetre at a time, holding the tape flat with one hand and pulling with the other. Forcing a jammed slider is how single bent teeth turn into three.
- If the slider has run off the end of the tape, cut away the old top stop with side cutters, ease the slider back on from the joined bottom end, and align both rows of teeth inside the channel before pulling.
- Sew a new stop across the teeth where the old one sat, or melt a stop with a hot needle on synthetic coil. Run the slider the full length twice before you reload the bag.
The Half-Millimetre Pliers Rule for a Spreading Slider
Close a spreading slider by squeezing each side of the slider body inward by no more than half a millimetre, then testing the full length of the zip before you squeeze again.
A zip that splits behind the slider almost always has opened jaws. Cover the slider with a strip of tape or cloth to protect the finish, grip the widest part of the body with smooth-jawed pliers, and squeeze across the sides - never on the pull or the bridge. One light pass, one test, then decide whether a second pass is needed.
Stop when the slider grips the teeth firmly but still runs freely under finger pressure. A slider squeezed too far will not clear the curve of the track, and it cannot be opened back out: plastic bodies crack and metal bodies spring.
When Repair Stops Making Sense
Stop repairing when the tape or the fabric behind it has failed, because a new slider on torn tape will split again within a week of daily use.
Repair the zip
- Teeth complete along the full track
- Tape still stitched firmly into the panel
- Slider grips after one or two plier passes
- Zip serves a pocket, pouch or light-use daypack
Replace the zip or the bag
- Two or more teeth missing mid-track
- Tape torn out of the seam over two centimetres
- Slider falls off again after crimping
- Shell fabric or straps are delaminating as well
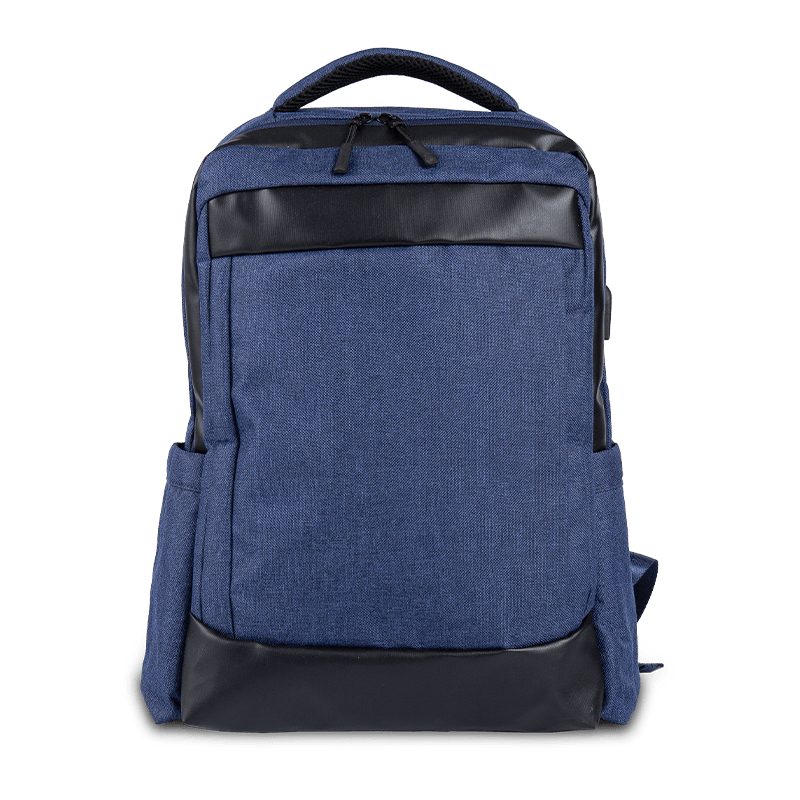
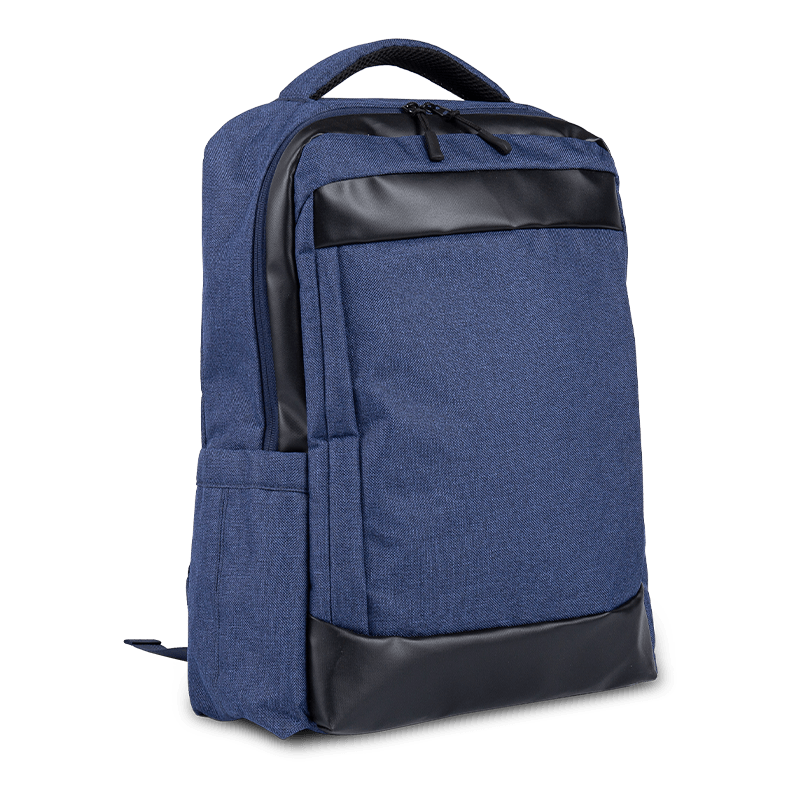
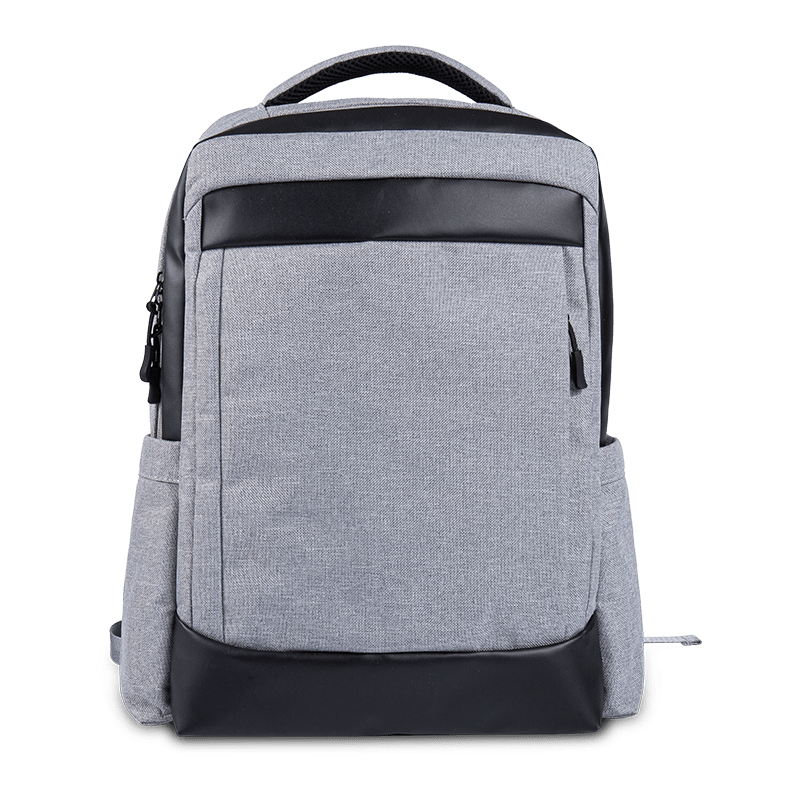
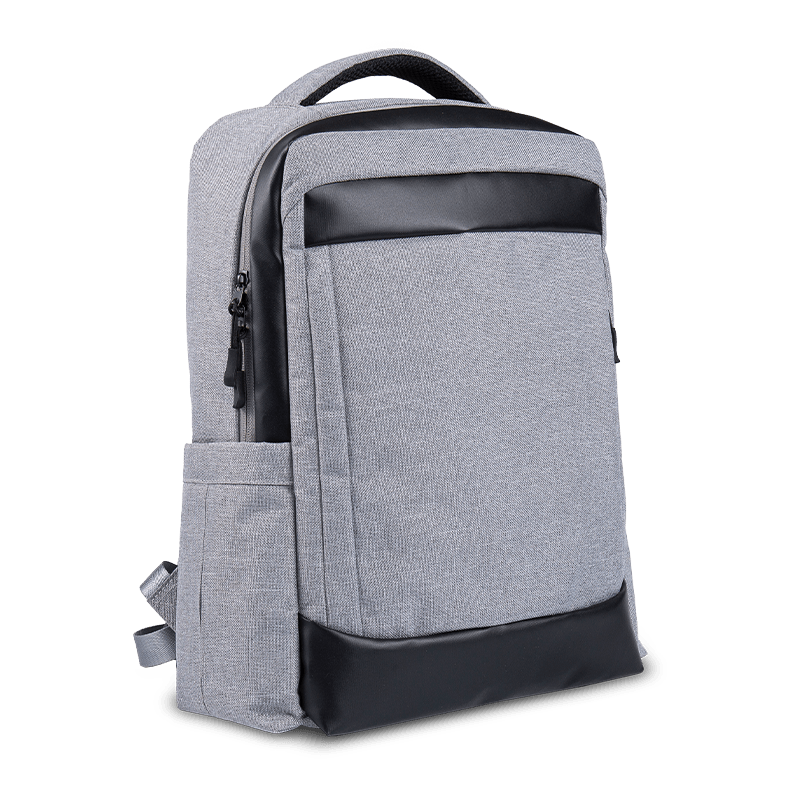
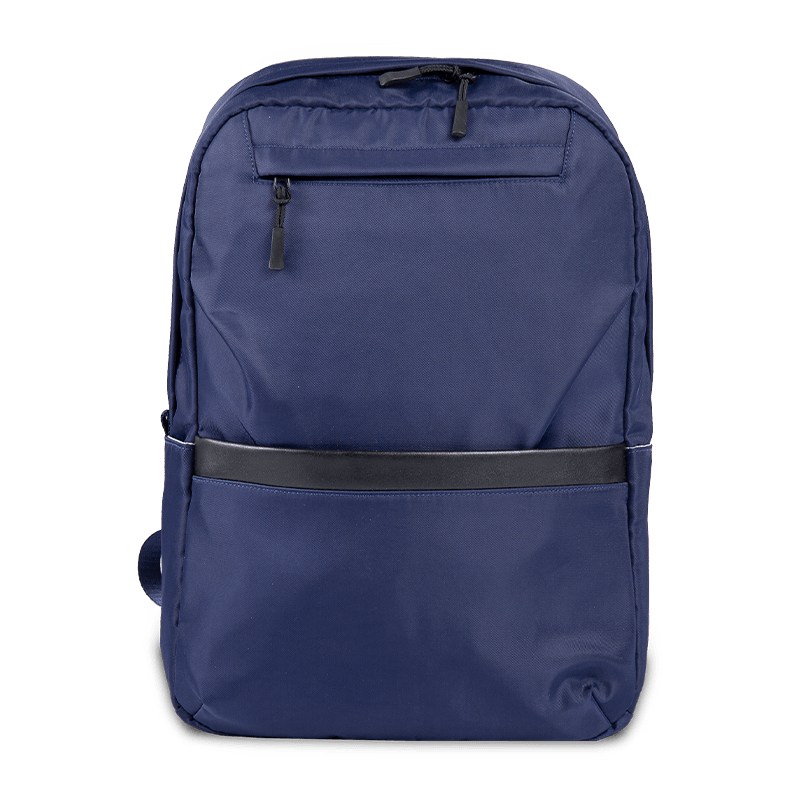
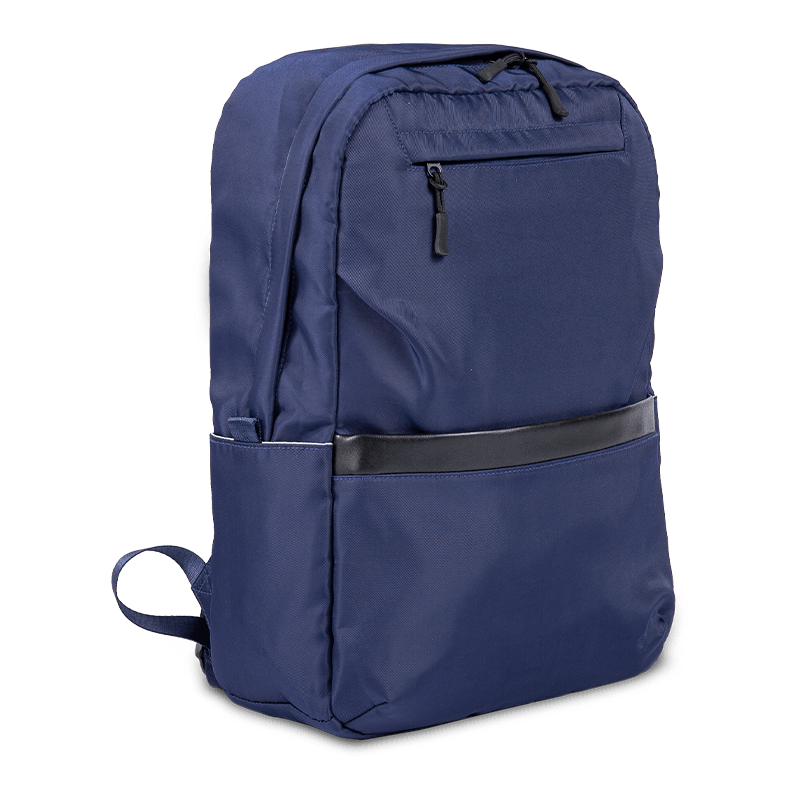
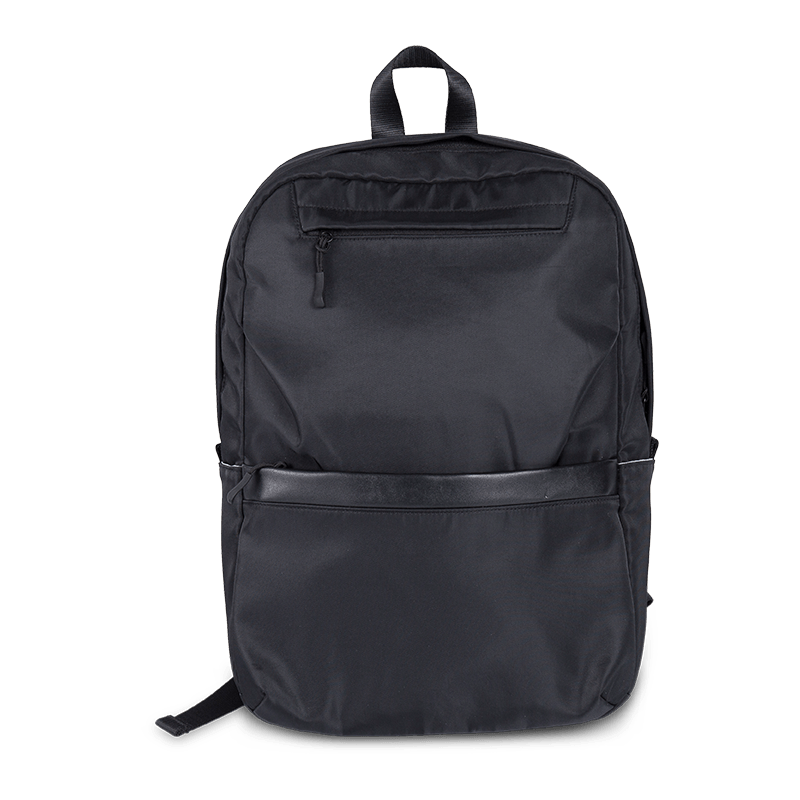
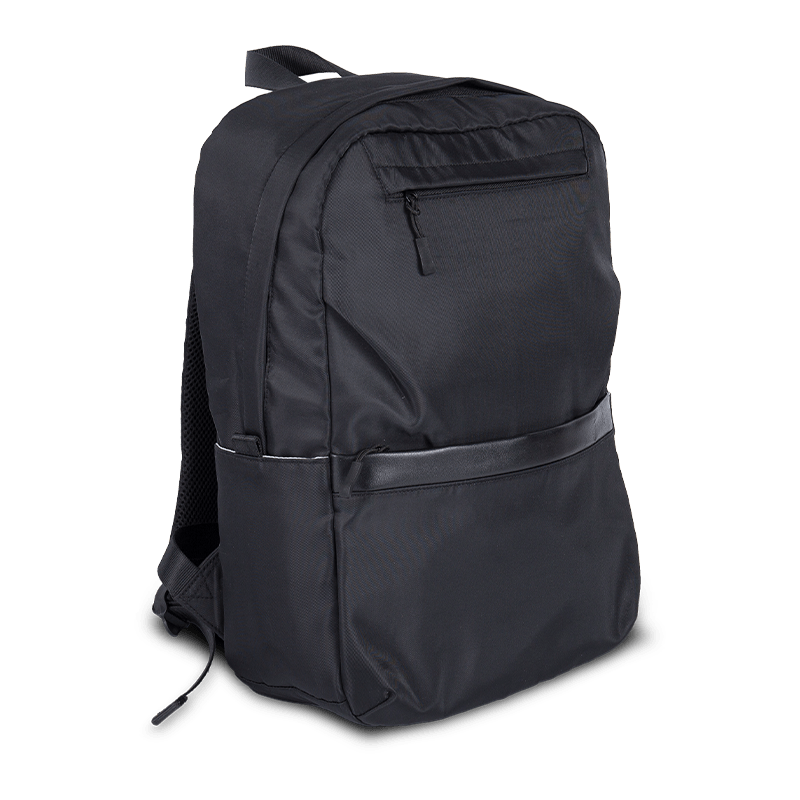
 Unisex Oxford Large-Capacity Laptop BackpackA unisex Oxford backpack with a laptop compartment and 20–39L capacity, suited to daily carry when replacing a worn bag rather than repairing it.View Product →
If you are replacing rather than repairing, read the zip spec before you pay: the bag range we manufacture lists slider size, tape type and compartment layout on each style, which matters more than colour once a bag is carrying a laptop every day.
Buying and Prevention Checks That Save Zippers
The cheapest zipper repair is the one you never need, and five checks at purchase prevent most of the failures covered above.
- Main compartments should use a size 5 coil at minimum, and size 8 or 10 on packs above 40 litres.
- Reverse-coil zips, with the teeth turned inward, resist grit and abrasion on travel packs.
- A zipper garage or storm flap keeps rain, sand and dust out of the channel.
- Look for a reinforced pull with a cord extension rather than a bare plastic tab.
- Check that the tape is double-stitched where the zip curves at the corners of the panel.
In daily use, close every zip before washing, storing or packing, and do not overstuff the main compartment - a zip under constant tension wears fastest at the curve where the slider turns. Wax twice a year, keep sand out of the channel, and pull on the tab rather than the tape.
The same habits apply to wheeled bags, where a jammed zip on a packed cabin case is harder to reach; our notes on keeping trolley backpack zippers from sticking cover the extra checks those frames need.
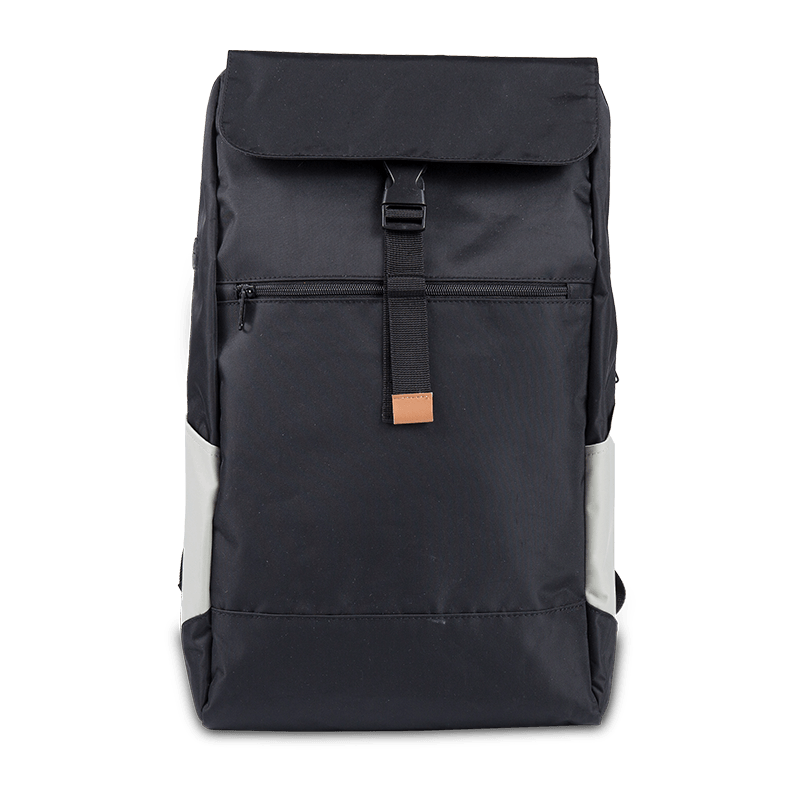
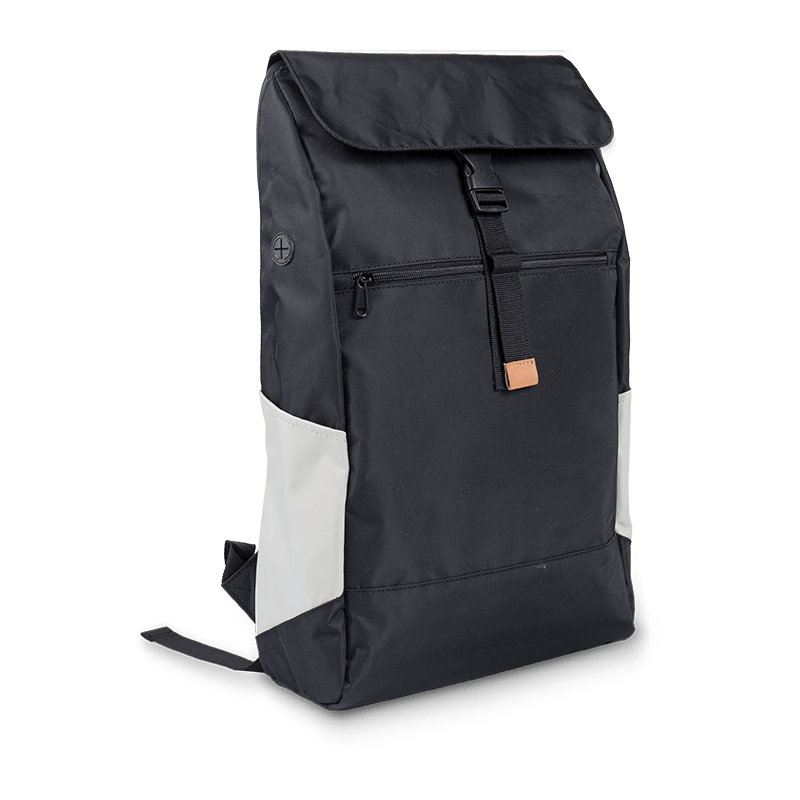
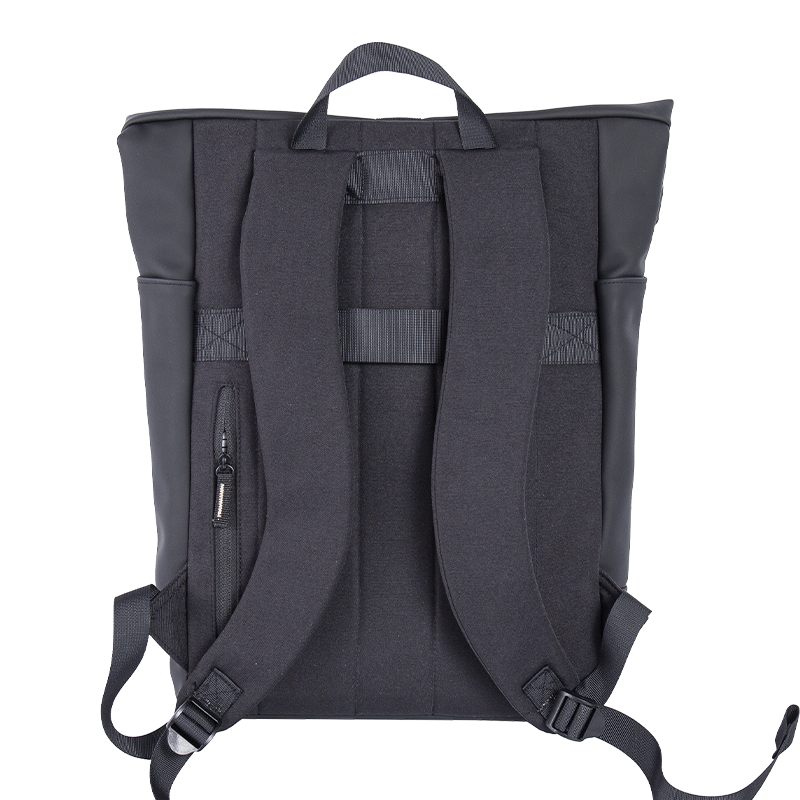 Waterproof Roll-Top Backpack with 16-Inch Laptop CompartmentAn expandable waterproof roll-top backpack with a padded 16-inch laptop compartment and 21–26L capacity, useful for daily carry and travel.View Product →
Frequently Asked Questions
Can a backpack zipper be fixed without sewing?
Yes, in most cases. Stuck sliders, spreading sliders, sliders that have jumped the track and broken pull tabs are all handled with pliers, wax and a replacement slider. Sewing only becomes necessary when teeth are missing at the end of the track, a new stop is required, or the tape has torn away from the seam.
Why does my zipper split open behind the slider?
The slider jaws have opened, so the teeth pass through the channel without being pressed together. Squeeze each side of the slider body inward by about half a millimetre with smooth pliers, test the full length of the zip, and repeat only if the teeth still separate. If crimping stops working, fit a new slider of the same size.
What is safe to use as a zipper lubricant?
Paraffin wax, a dry bar of soap, a silicone stick and graphite from a pencil are all safe on backpack zips. Avoid cooking oil, butter and general-purpose spray lubricants, because they attract dust into the channel and stain the tape and lining.
Is it worth replacing a backpack zipper?
It is worth it when the shell, lining and straps are still sound and only the zip has failed. A full zip replacement takes a repair shop an hour or two of labour, so compare the quote with the price of a comparable new bag before committing.